
Treat Yourself to a Slice of Heaven with this Irresistible Red Velvet Cream Cheesecake!
Welcome to Elles Kitchen Life! Today, we’re excited to share a dessert that’s bound to become your new favorite: the Red Velvet Cream Cheesecake. This stunning creation combines the classic, moist red velvet cake with a velvety, smooth cream cheese filling. The rich flavor of the red velvet layers perfectly complements the tangy sweetness of the cream cheese, creating an exquisite balance in every bite. With its beautiful swirl pattern and melt-in-your-mouth texture, this cheesecake is a true showstopper for any occasion.
Impress your guests and satisfy your sweet cravings with this luxurious, one-of-a-kind dessert! ✨
Ingredients:
For the Red Velvet Layer:
- 3/4 cup (110g) All-purpose flour
- 1 tbsp + 1/4 tsp (7.5g) Red yeast powder (or food coloring)
- 1 tbsp (6g) Unsweetened cocoa powder
- 1/2 cup (100g) Granulated sugar
- 1/4 tsp (1.25g) Baking soda
- 1/8 tsp (0.5g) Salt
- 1 small egg (40–45g)
- 1/3 cup (70ml) Vegetable oil
- 1/3 cup (75ml) Buttermilk
- 2 tbsp (30g) Sour cream (substitute if unavailable)
- 3/4 tsp (3.5ml) Vanilla extract
- 1/4 tsp (1.25ml) White vinegar
For the Cream Cheese Layer:
- 5 oz (150g) Cream cheese (softened)
- 1/4 cup (50g) Powdered sugar
- 3/4 tsp (3.5ml) Vanilla extract
- 1 small egg (about 40-45 g)
- 1 tbsp (15ml) Heavy cream (Optional)
Don’t Have Buttermilk or Sour Cream? Don’t Worry!
Here’s how you can easily make substitutes for these ingredients at home:
Homemade Buttermilk:
- Measure 1/3 cup (75ml) of milk.
- Stir in 1/2 tablespoon (7.5ml) of lemon juice or white vinegar.
- Let it sit for 5 minutes until it curdles slightly. Your buttermilk substitute is ready!
DIY Sour Cream:
- Quick Sour Cream: Mix 2 tablespoons (30g) of heavy cream with 1/2 teaspoon (2.5ml) of lemon juice. Let it rest for 5 minutes to develop a tangy flavor.
- Plain Yogurt: Use 2 tablespoons (30g) of plain, unsweetened yogurt as a perfect sour cream replacement.
These quick fixes will give your recipe the moisture, tanginess, and texture it needs, so you can bake with confidence!
📹 Watch Our Step-by-Step Video Tutorial:
Instructions:
Prepare Red Velvet Layer
- Start by generously coating your mold with butter to ensure the cheesecake will come out smoothly once it’s done baking. This small step helps prevent any sticky situations later on. As you prep the mold, preheat your oven to 175°C (350°F).

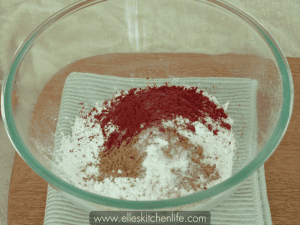
- In a medium bowl, mix together all-purpose flour, cocoa powder, red yeast powder, baking soda, and salt. Set the mixture aside for later.
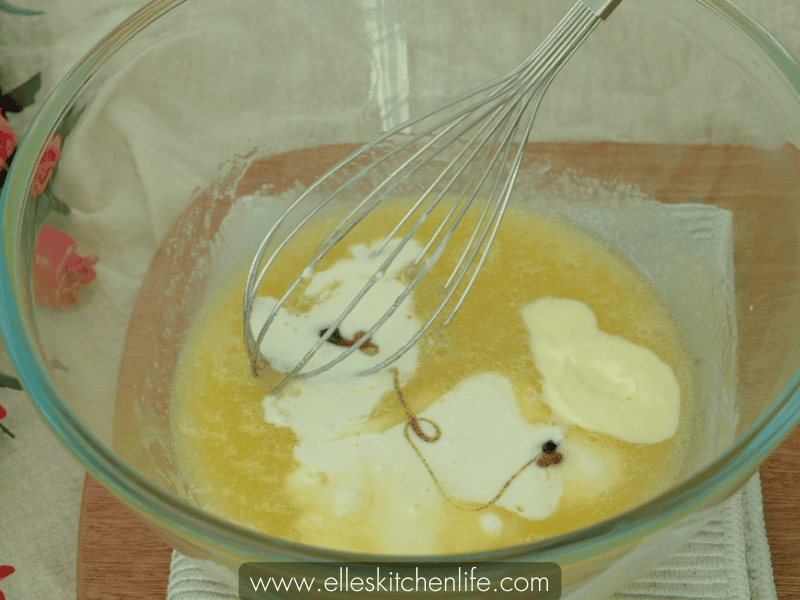
- In a large bowl, whisk together sugar, vegetable oil, and egg. Make sure to whisk thoroughly so the sugar fully dissolves into the oil and egg, ensuring a smooth mixture.

- Next, add the sour cream, buttermilk, and vanilla extract to your mixture. If you don’t have sour cream on hand, you can substitute it with buttermilk to maintain a creamy, rich texture. Whisk everything together until it’s fully incorporated and smooth.
- Gradually fold the dry ingredients into the wet mixture using a spatula. Be sure to mix gently to avoid overworking the batter, which could affect the texture. Overmixing can lead to a denser cake, so a few gentle folds will help maintain the light, airy consistency you’re aiming for.

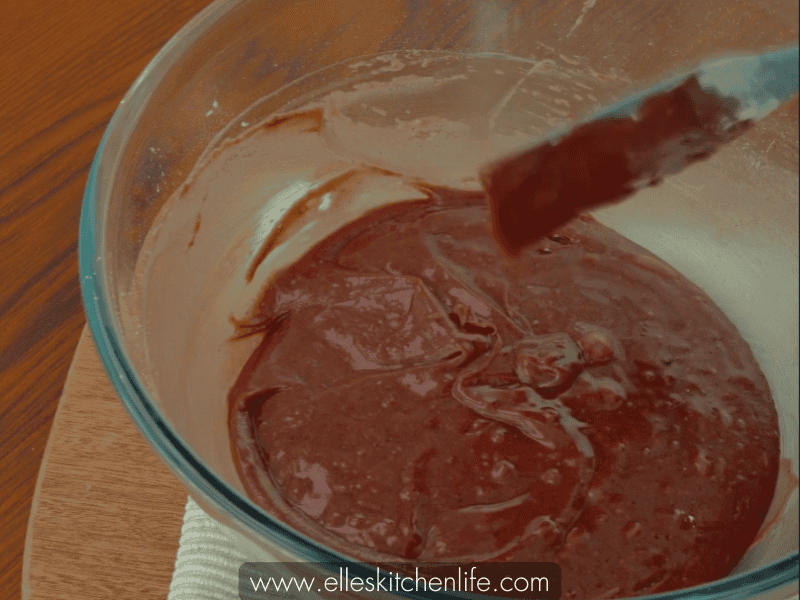
- Scoop 2-3 tablespoons of the red velvet batter into a piping bag. This small portion of batter will be used later to add a stunning design to your cheesecake, so having it ready in the piping bag will make the process much easier and more precise.

Prepare Cream Cheese Layer
- In a clean mixing bowl, combine softened cream cheese and powdered sugar. Using an electric mixer, beat the mixture until it’s smooth, creamy, and lump-free. This step is crucial for achieving the rich, velvety texture that contrasts beautifully with the red velvet cake layer.

- Once the cream cheese and sugar mixture is perfectly smooth, add the egg and a splash of vanilla extract. Beat again until the mixture is well-combined and creamy, with no lumps in sight.


Create Pattern
Now, it’s time to layer the red velvet and cream cheese mixtures.
- Pour first the remaining red velvet batter into the greased pan and spread evenly.

- Next, gently pour the cream cheese mixture over the red velvet layer, spreading it evenly with a spatula.

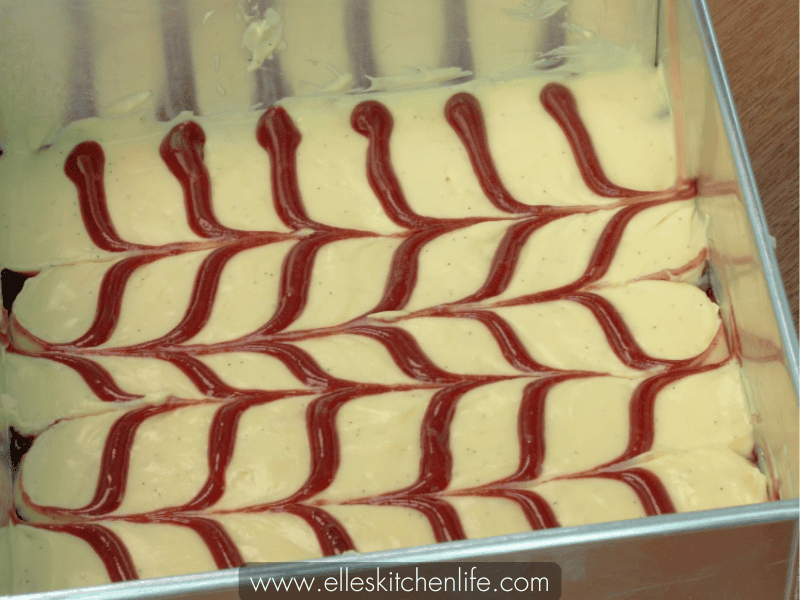
- To create a pattern, squeeze the reserved red velvet batter on top of the cream cheese layer.
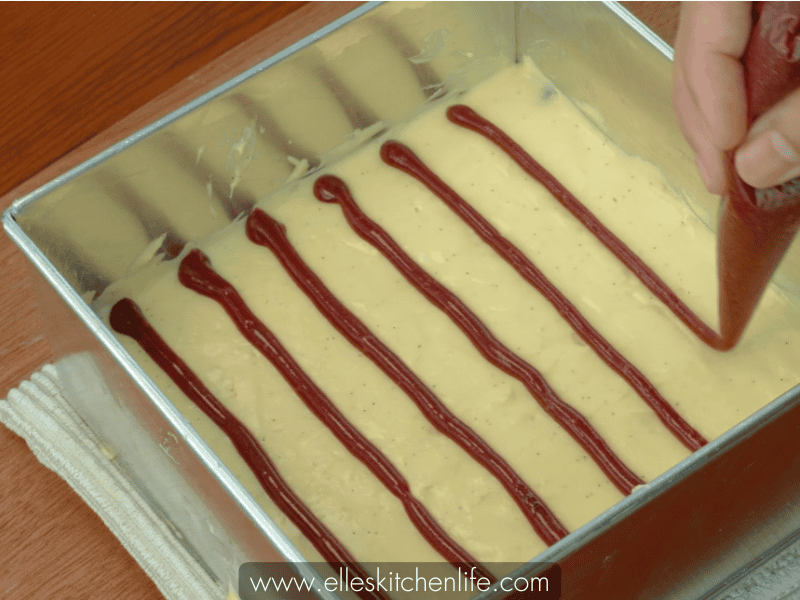
- Gently use a toothpick or skewer to swirl the red velvet batter into the cream cheese layer, forming a stunning pattern. Get creative with your swirling technique – experiment with different patterns to make your cake visually stunning!
📹 See the Swirl Technique in Action:
Bake and Cool
-
- Bake the cheesecake at your preheated oven for about 28-32 minutes. Keep an eye on it—the cream cheese layer should be set but still have a slight wobble in the center when you gently shake the pan.
- After baking, remove the pan from the oven and let the cheesecake cool at room temperature. Once the cake has cooled completely, transfer it to the refrigerator and let it chill for at least two hours before serving.

Tips
- Stay Moist: The combination of buttermilk, vegetable oil, and sour cream keeps the red velvet layer tender and moist.
- Cream Cheese Perfection: Always use softened cream cheese for a silky, smooth texture without lumps.
- Storing Leftovers: Store in an airtight container in the refrigerator for up to 3 days.
Quick Tips for Room Temperature Ingredients:
-
- Cream Cheese (150g): Cut into smaller pieces and microwave at low power (300 watts) in 5-second intervals, stirring between each, until softened. Alternatively, let it sit in a warm spot for 10-15 minutes.
- Small Egg (40-45g): Place the egg (in its shell) in a bowl of warm water for 5 minutes to bring it to room temperature quickly.
- Buttermilk (75ml): Pour into a microwave-safe container and heat at low power (300 watts) for 5-7 seconds to remove the chill. Stir gently to ensure even temperature.
- Sour Cream (30g): Scoop into a microwave-safe dish and heat for 5-10 seconds at low power (300 watts). Alternatively, let it sit out for 10-15 minutes.
- Heavy Cream (15ml): If using, pour into a microwave-safe container and heat for 5-7 seconds at low power (300 watts).
This Red Velvet Cream Cheesecake is the perfect blend of elegance and indulgence! Whether it’s a special celebration or just a sweet treat for yourself, it’s sure to wow everyone who tries it.


")


